Add custom plugins in IDP
Coming Soon. This feature is not available in production environment yet, meanwhile take a look at the details of custom plugins to get an overview of it.
Introduction
In IDP we allow addition of, backstage frontend plugins, created by you as a custom plugin. Following are the step-by-step instructions to add your custom plugins in IDP.
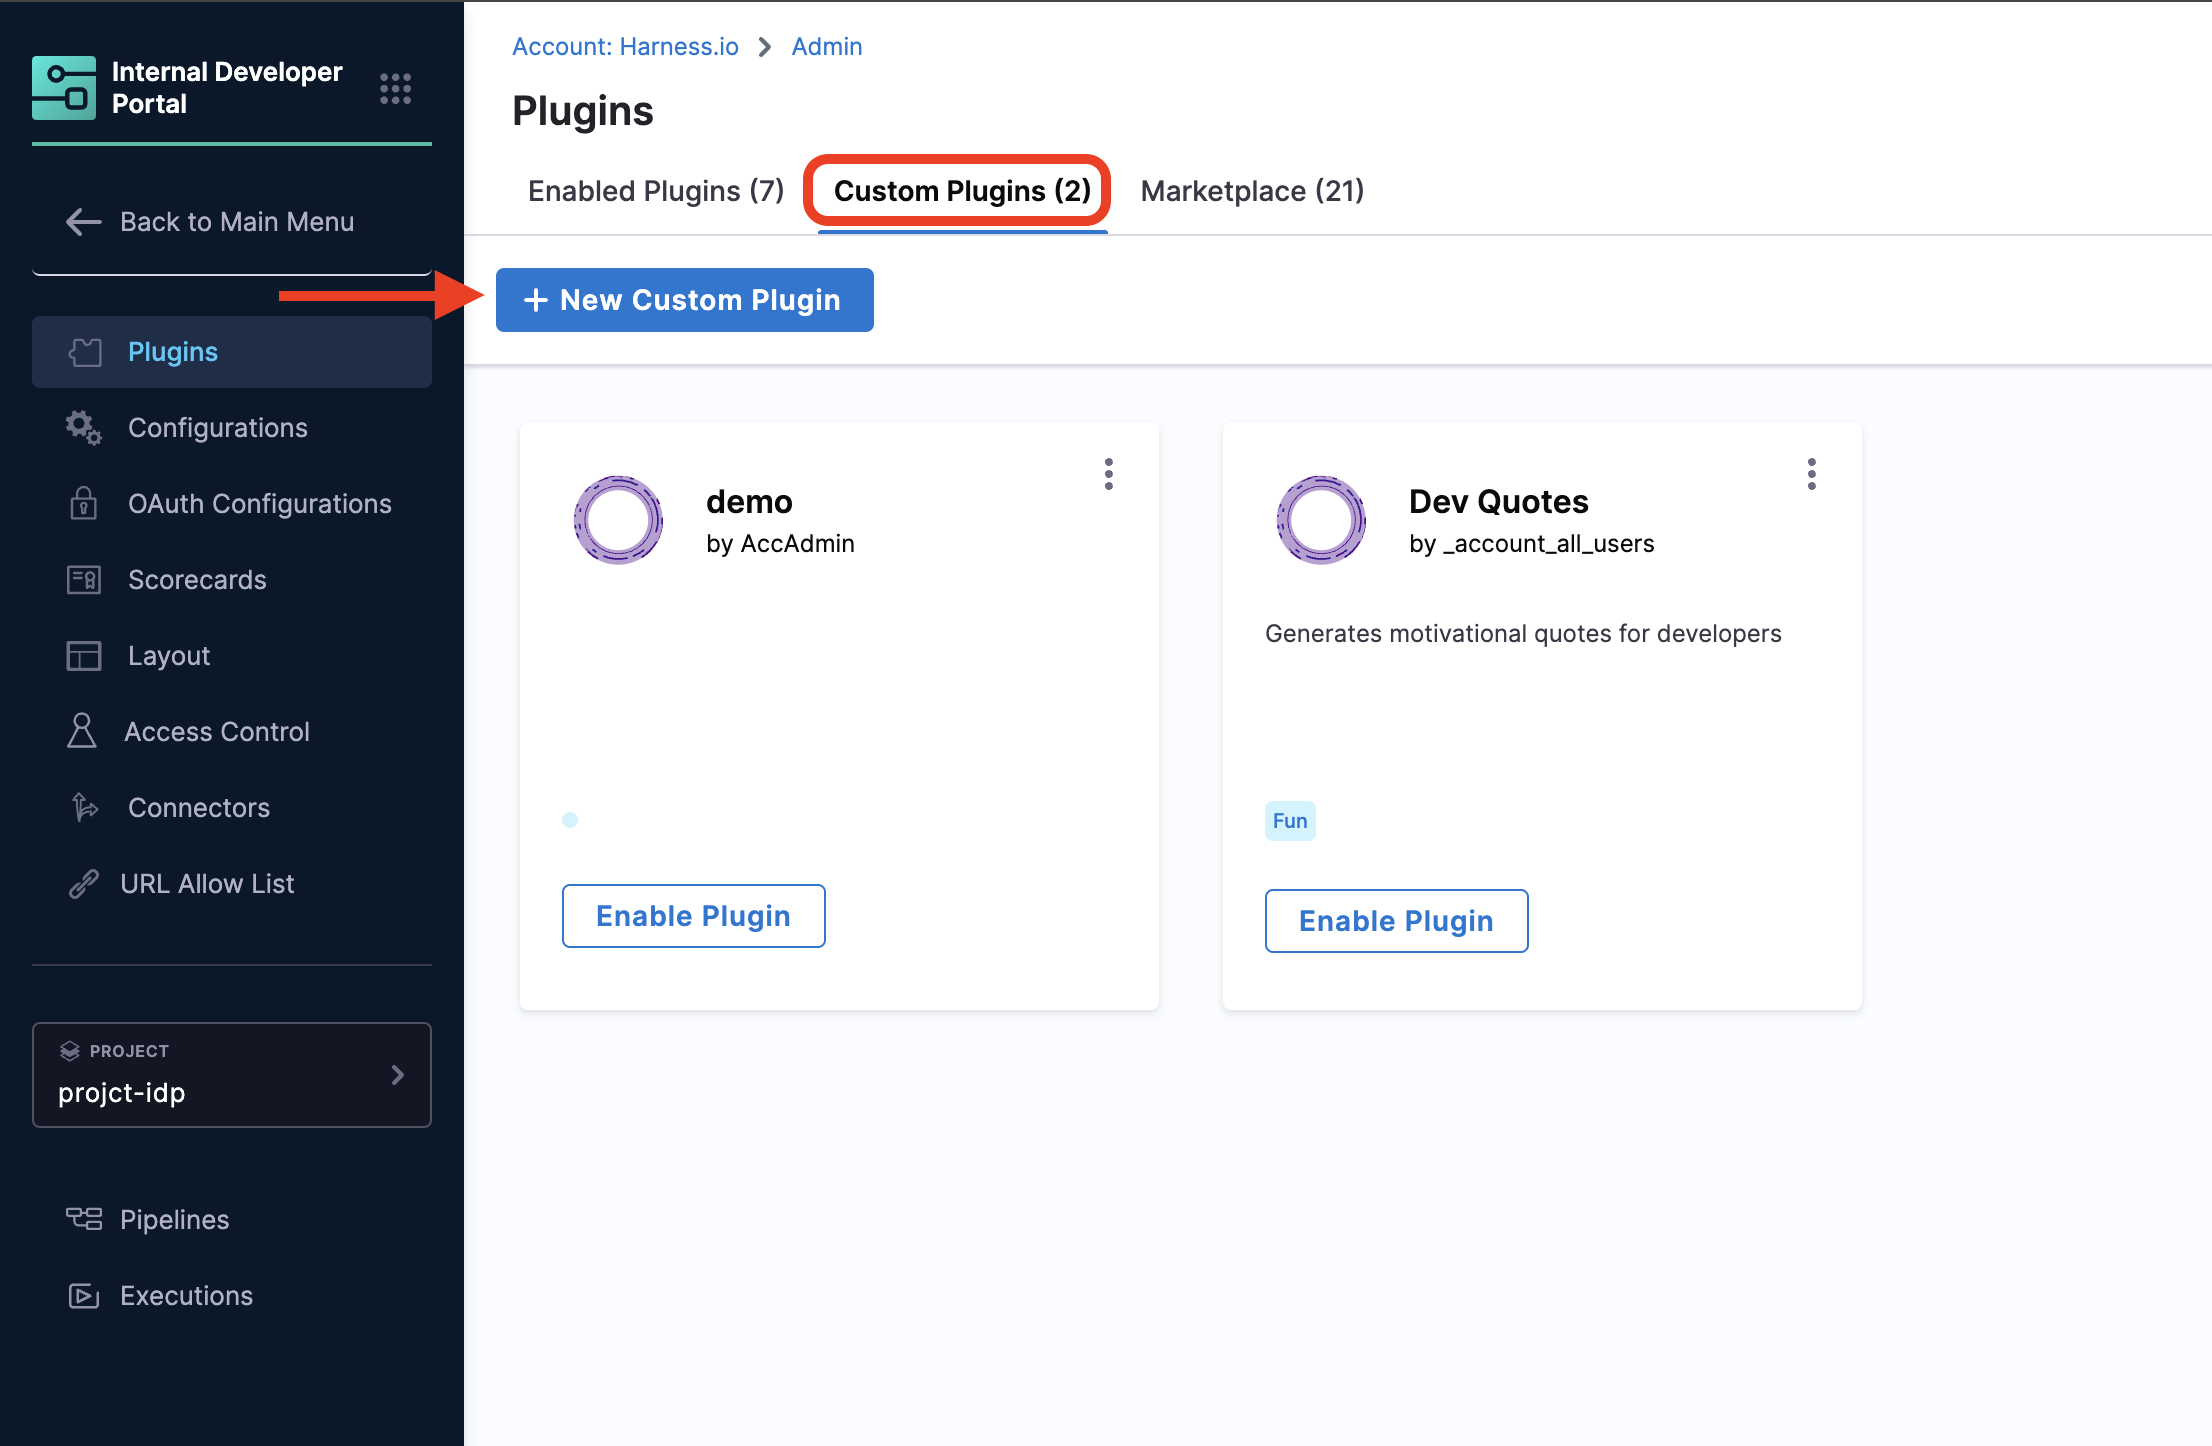
- Go to Plugins under Admin section.
- Now you could find the Custom Plugins tab on the Plugins page.
- Start by creating a New Custom Plugin
As the feature is in beta we don't have proper error handling in place yet, so for all the steps below please make sure all your entires are correct for the plugin.
Add/Upload a New Plugin
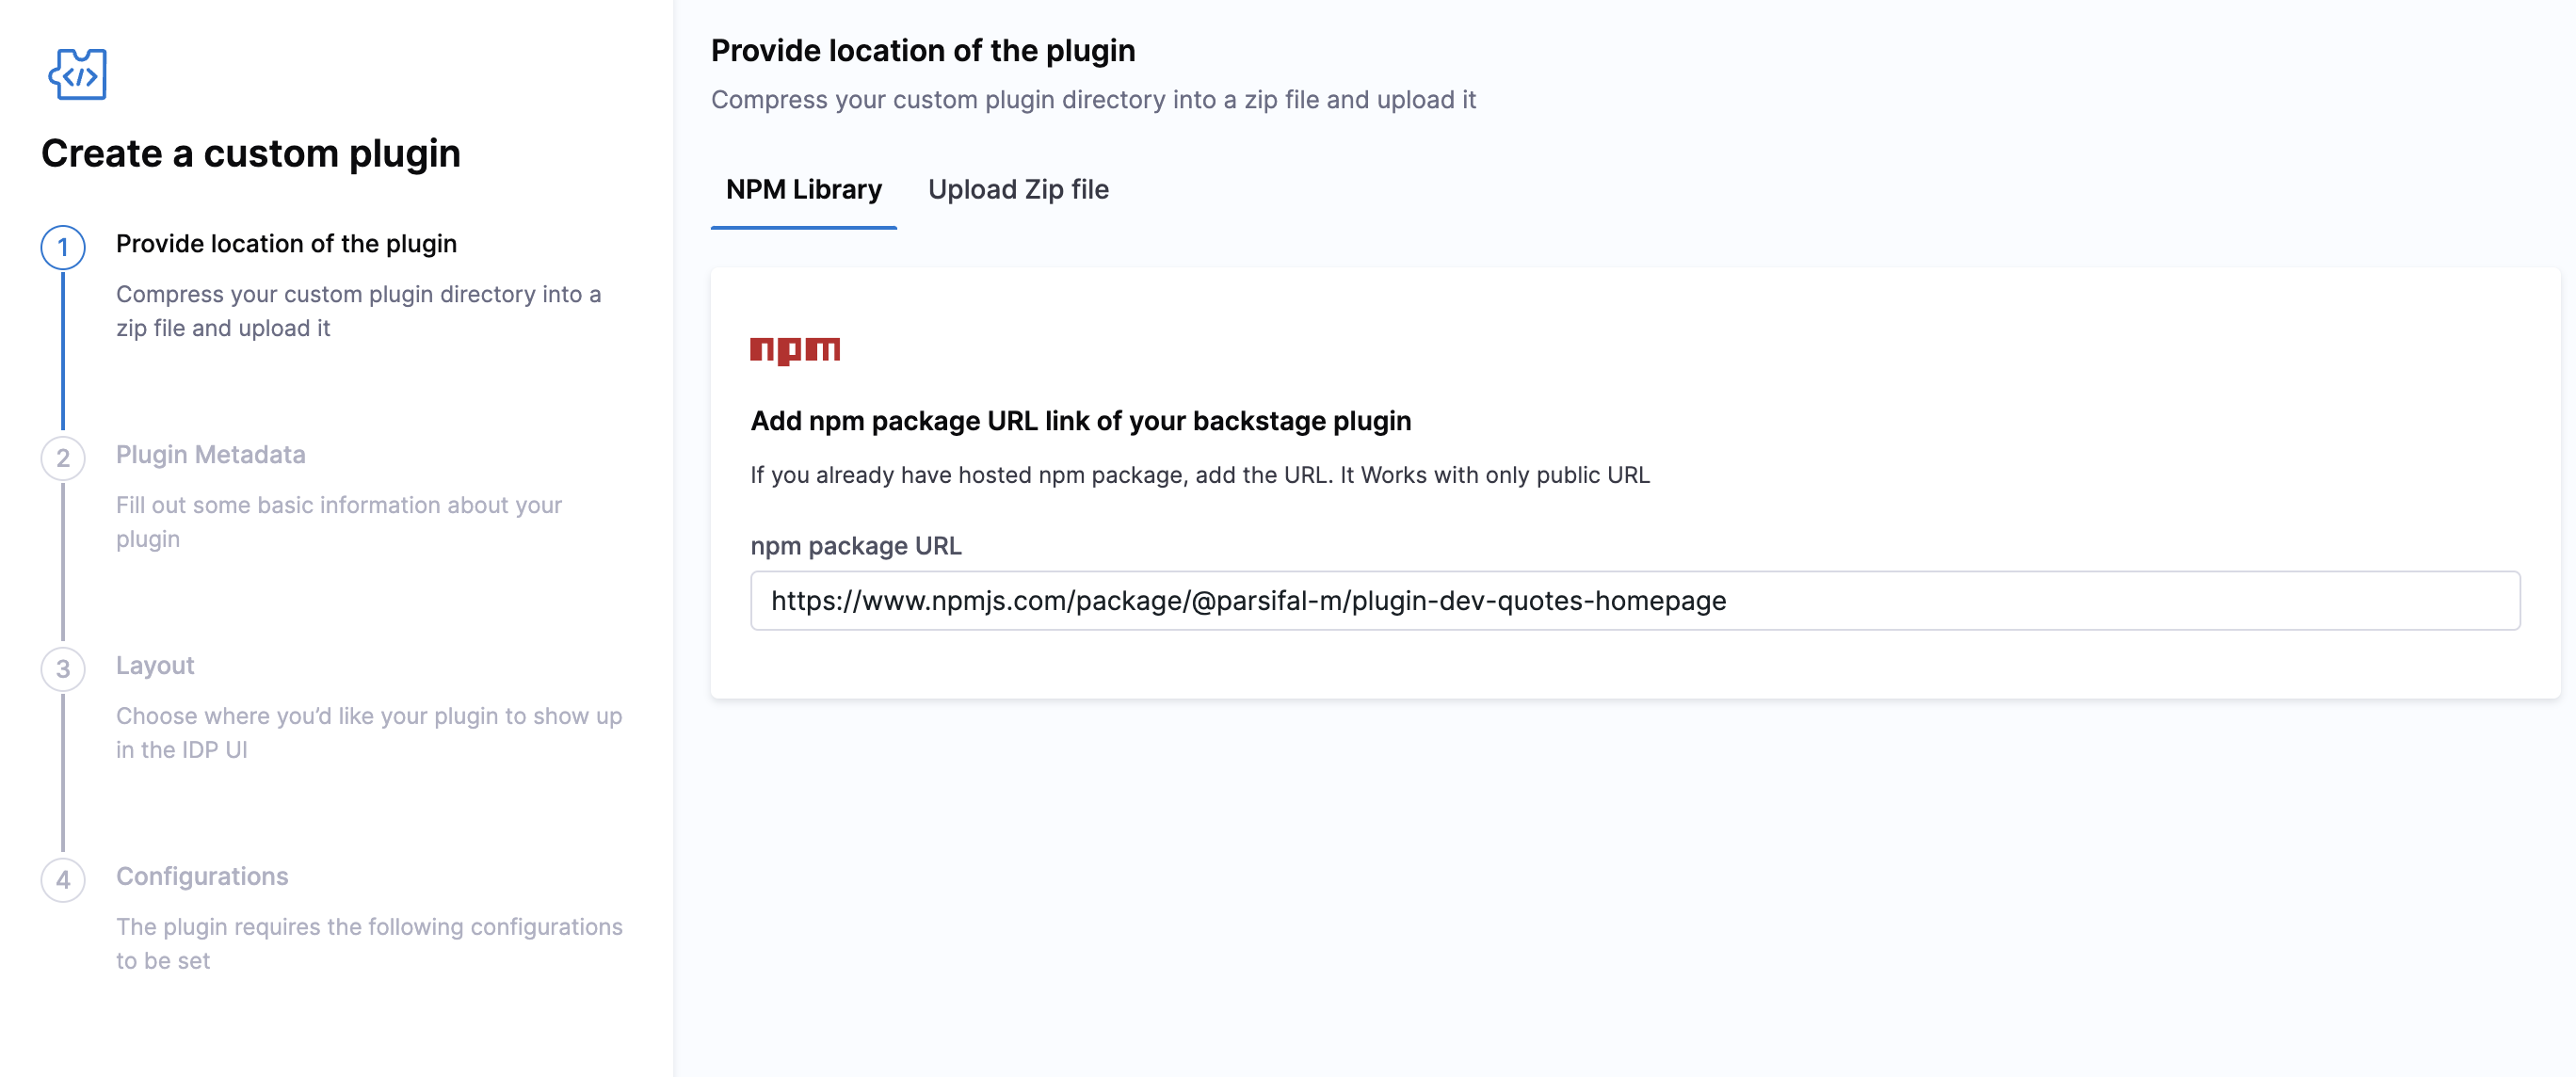
- NPM Library
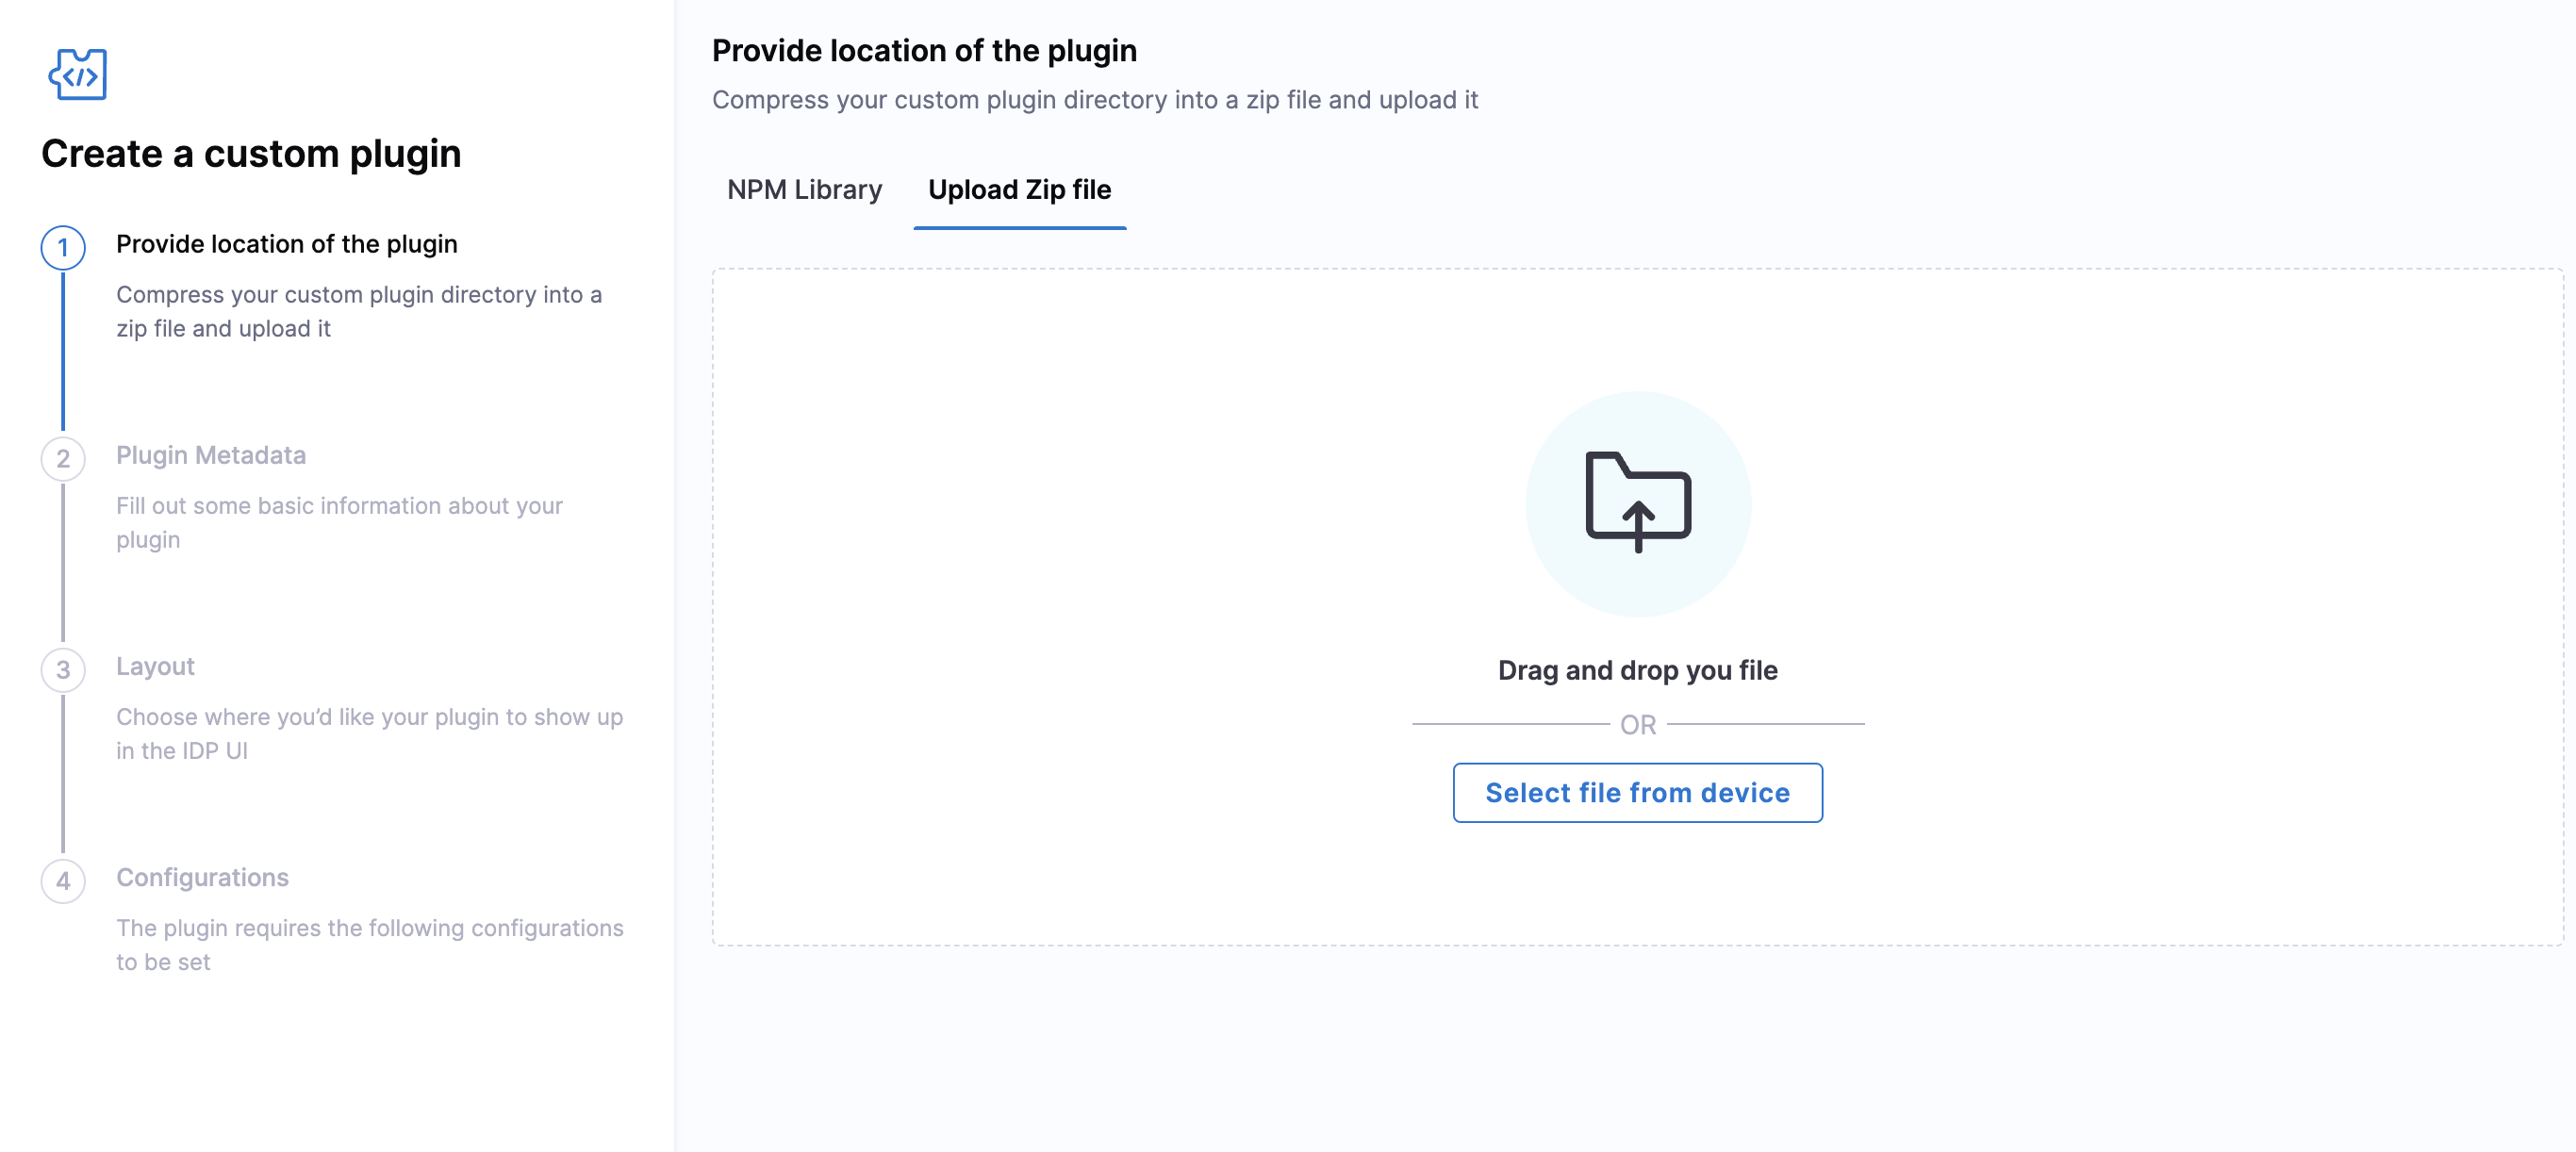
- Upload Zip file
- Now add the URL for your plugin public npm package.
eg,. https://www.npmjs.com/package/@parsifal-m/plugin-dev-quotes-homepage, https://www.npmjs.com/package/backstage-plugin-should-i-deploy
- You can as well pack your backstage frontend plugins using
[yarn pack](https://classic.yarnpkg.com/lang/en/docs/cli/pack/#toc-yarn-pack)and upload the resultingpackage.tgzfile
Only files packaged using yarn pack is to be used while uploading the zip file.
How to create and pack your front end Plugin
- Install backstage following this documentation
- Give your app a name.
- Now
cd <your-app-name>. - Now create a scaffolder for frontend plugin using
yarn new --select plugin - You now have a plugin with the following folder structure.
new-plugin/
    dev/
        index.ts
    node_modules/
    src/
        components/
            ExampleComponent/
                ExampleComponent.test.tsx
                ExampleComponent.tsx
                index.ts
            ExampleFetchComponent/
                ExampleFetchComponent.test.tsx
                ExampleFetchComponent.tsx
                index.ts
        index.ts
        plugin.test.ts
        plugin.ts
        routes.ts
        setupTests.ts
    .eslintrc.js
    package.json
    README.md
- Follow the steps mentioned here to build on top of it.
- Once you have the plugin ready, run
yarn tscat the root of the backstage app. - Now cd into your plugin directory and run
yarn buildfollowed byyarn pack. You'll have apackage.tgzfile generated.
Plugin Metadata
-
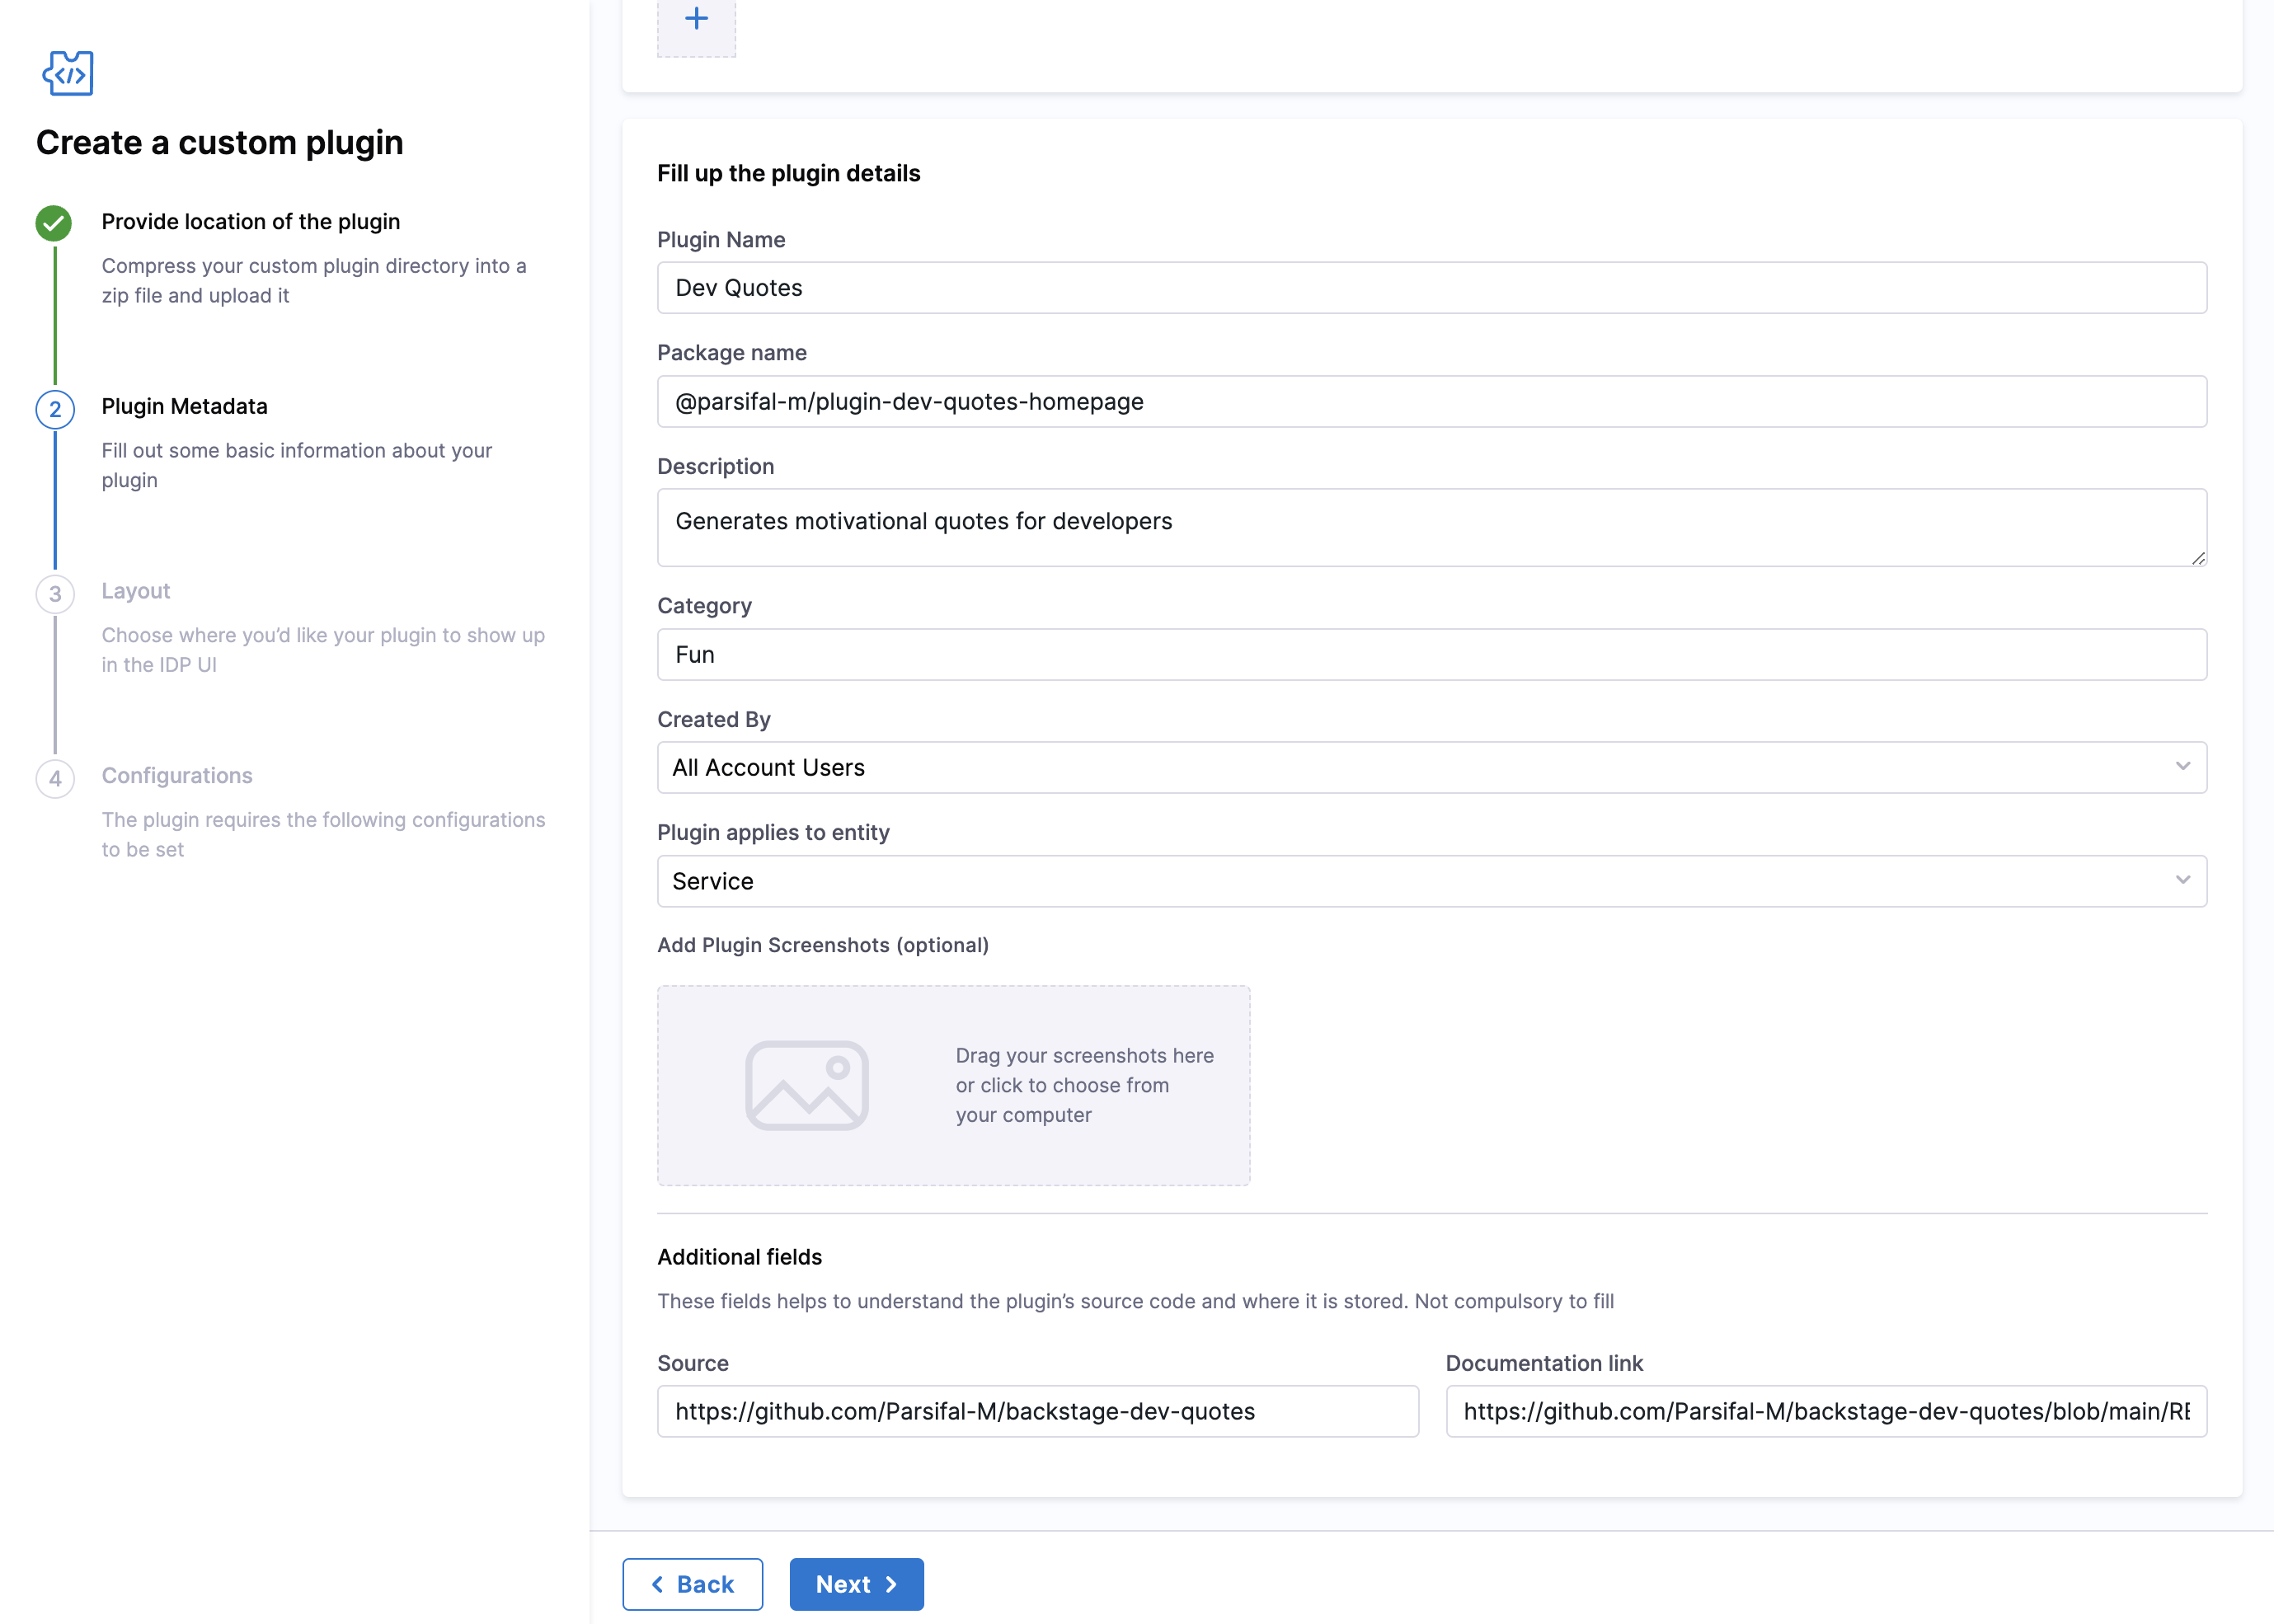
Now Click Next and start adding the Plugin Metadata. You have to fill the following fields
- Plugin Name : Add a name for your Plugin
- Package name : This will be same as your plugin package present in your plugin's
package.jsonfile. Make sure the name is exactly similar to what's mentioned in thepackage.jsonincluding@, eg:@parsifal-m/plugin-dev-quotes-homepage - Description : Add an apt description for your plugin, especially the function of the plugin.
- Category : Add an functional category for your plugin like
Monitoring,Observability,CI/CDetc. - Created By : Add the User Group you belong to from the dropdown.
- Plugin applies to entity : Add the software components to which your plugin applies to usually it's Service.
- Add Plugin Screenshots (optional) : Not available yet
- Additional fields : Fill it as shown in the image below.

Layout
- Now click next and Add Layout for your plugin. You have 3 categories in this and the layout is sourced from
packages/app/src/components/Catalog/EntityPage.tsx. Below are the examples.

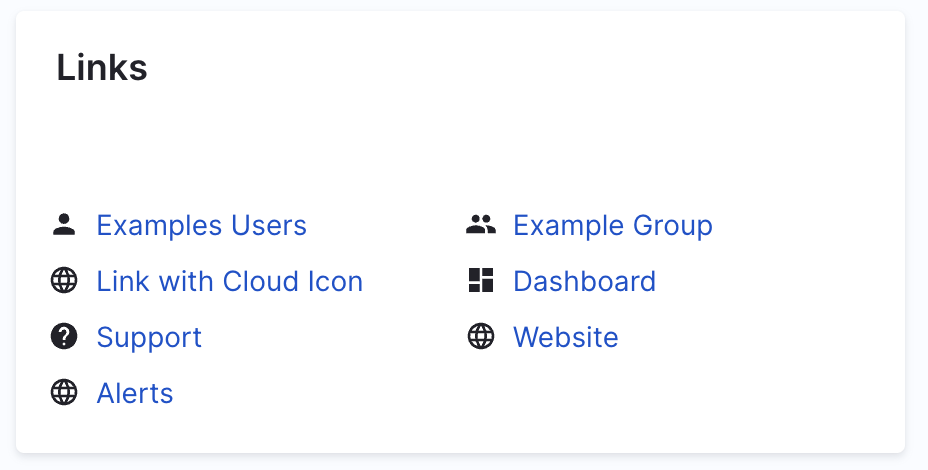
- Card: Here's an example
EntityLinksCardof Links card on Overview page.
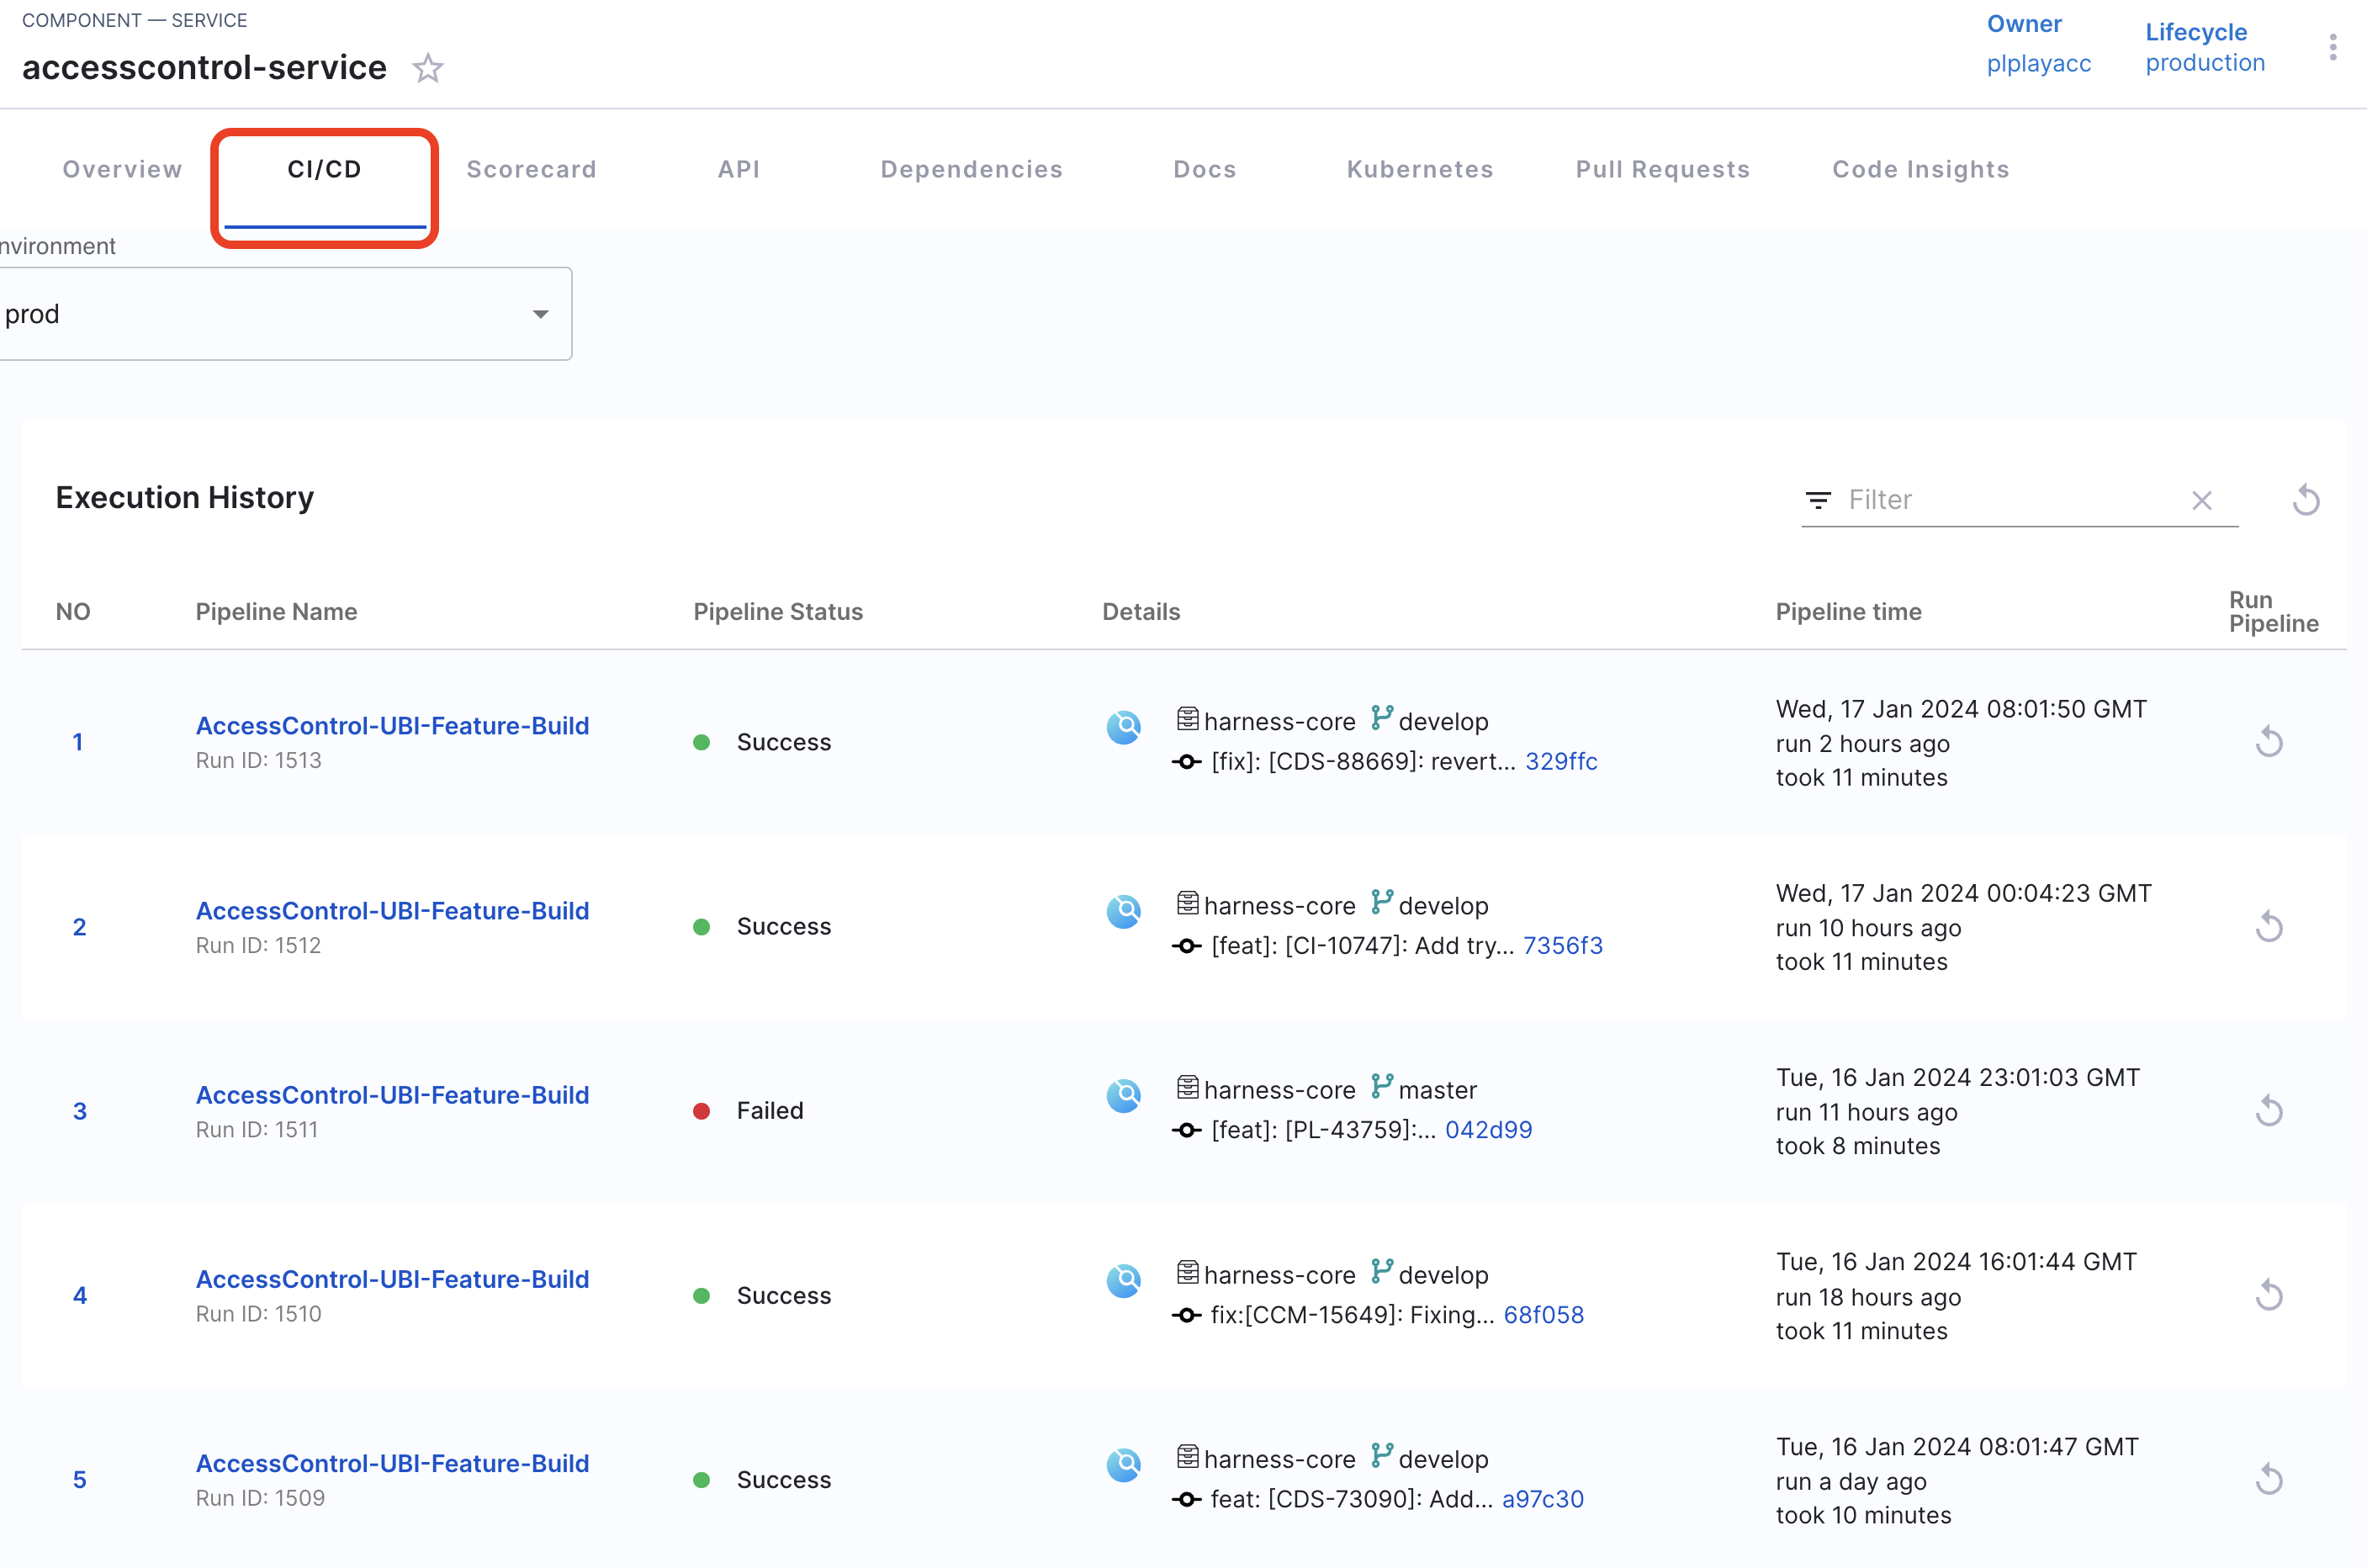
- Tab: Here's an example
EntityHarnessCiCdContentof Harness CI/CD tab.
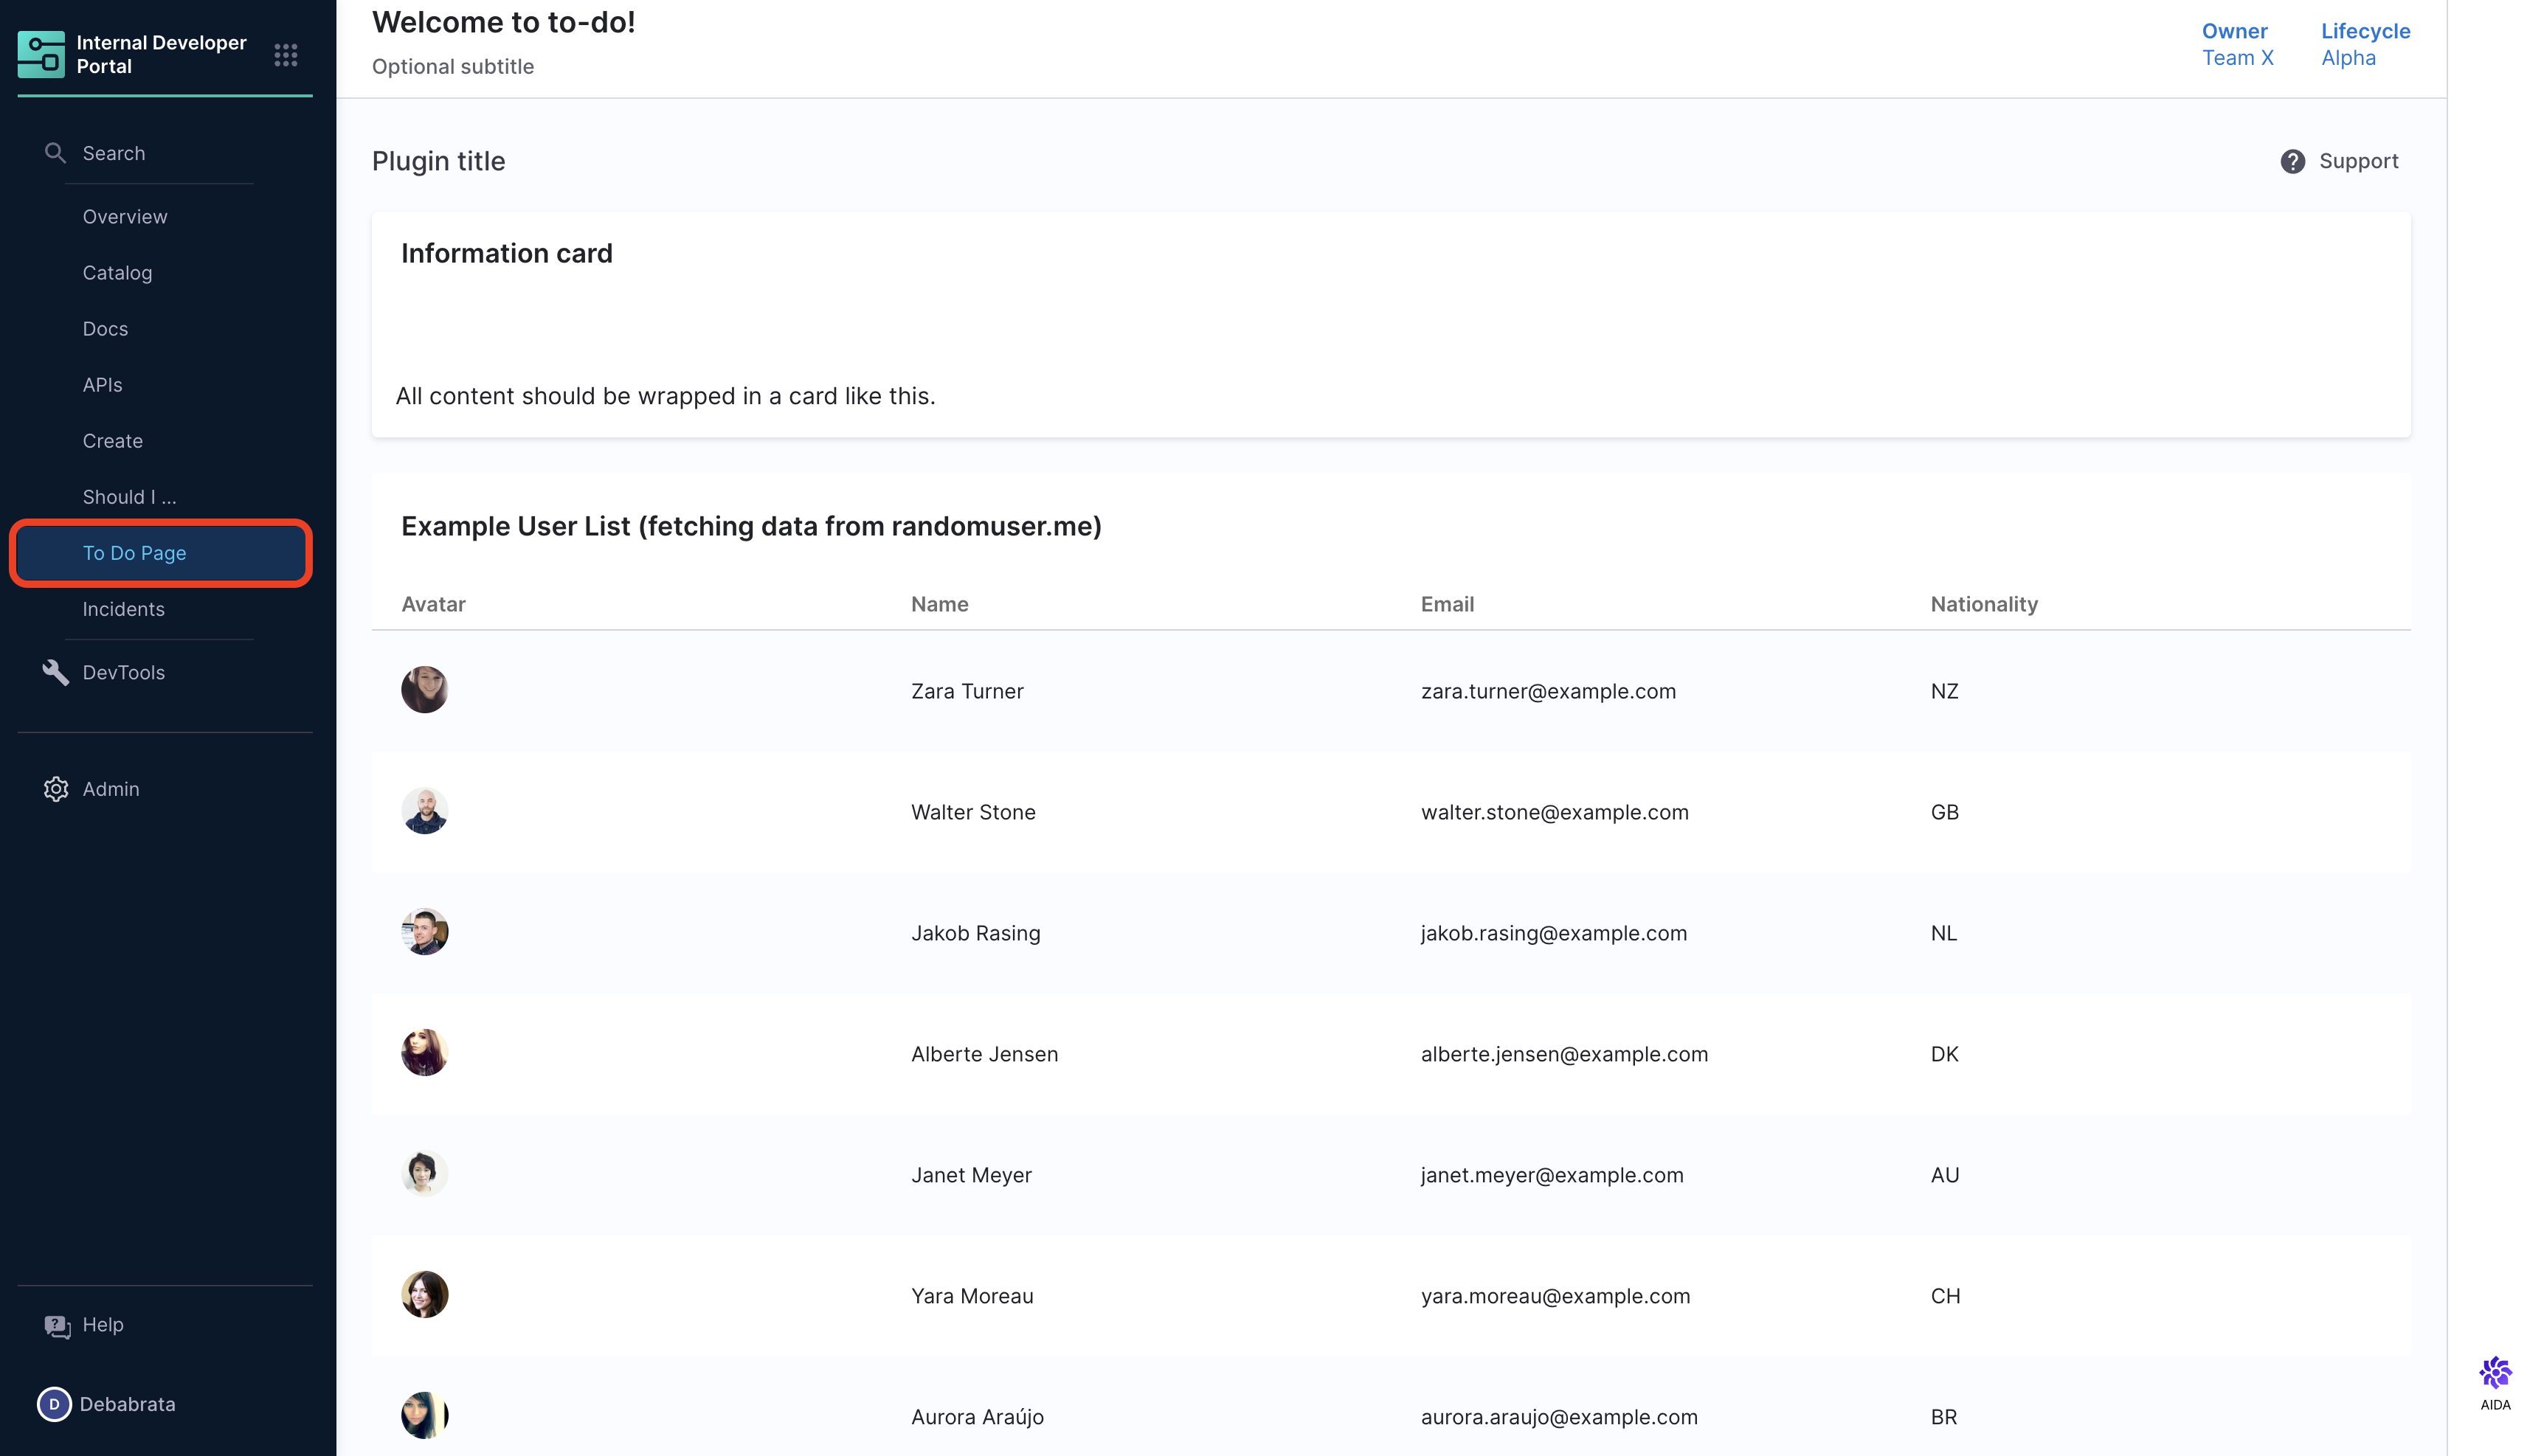
-
Menu Item in SideNav: Here's an example of TODO plugin in side nav.
-
Conditional: Here's an example of the Harness CI/CD plugin, also conditional is required if you want to check for the annotations in
catalog-info.yamlin case of absence of adequate annotation required the plugin won't show up for the particular software component.
Configurations
-
Now Click Next and go to the Configurations Page by default configuration is disabled.
-
If your plugin doesn't require any configuration settings like Proxy or authentication for API you can go ahead and enable the plugin directly.
-
If you require
app-config.yamlfor your plugin, then enable configuration. -
Now add the proxy part here, as given below in the example,
proxy:
  /mynewplugin:
    target: https://somerandomapi.com/api/v2
    pathRewrite:
      /api/proxy/mynewplugin/?: /
    headers:
      Authorization: "Api-Token ${SECRET_TOKEN}"
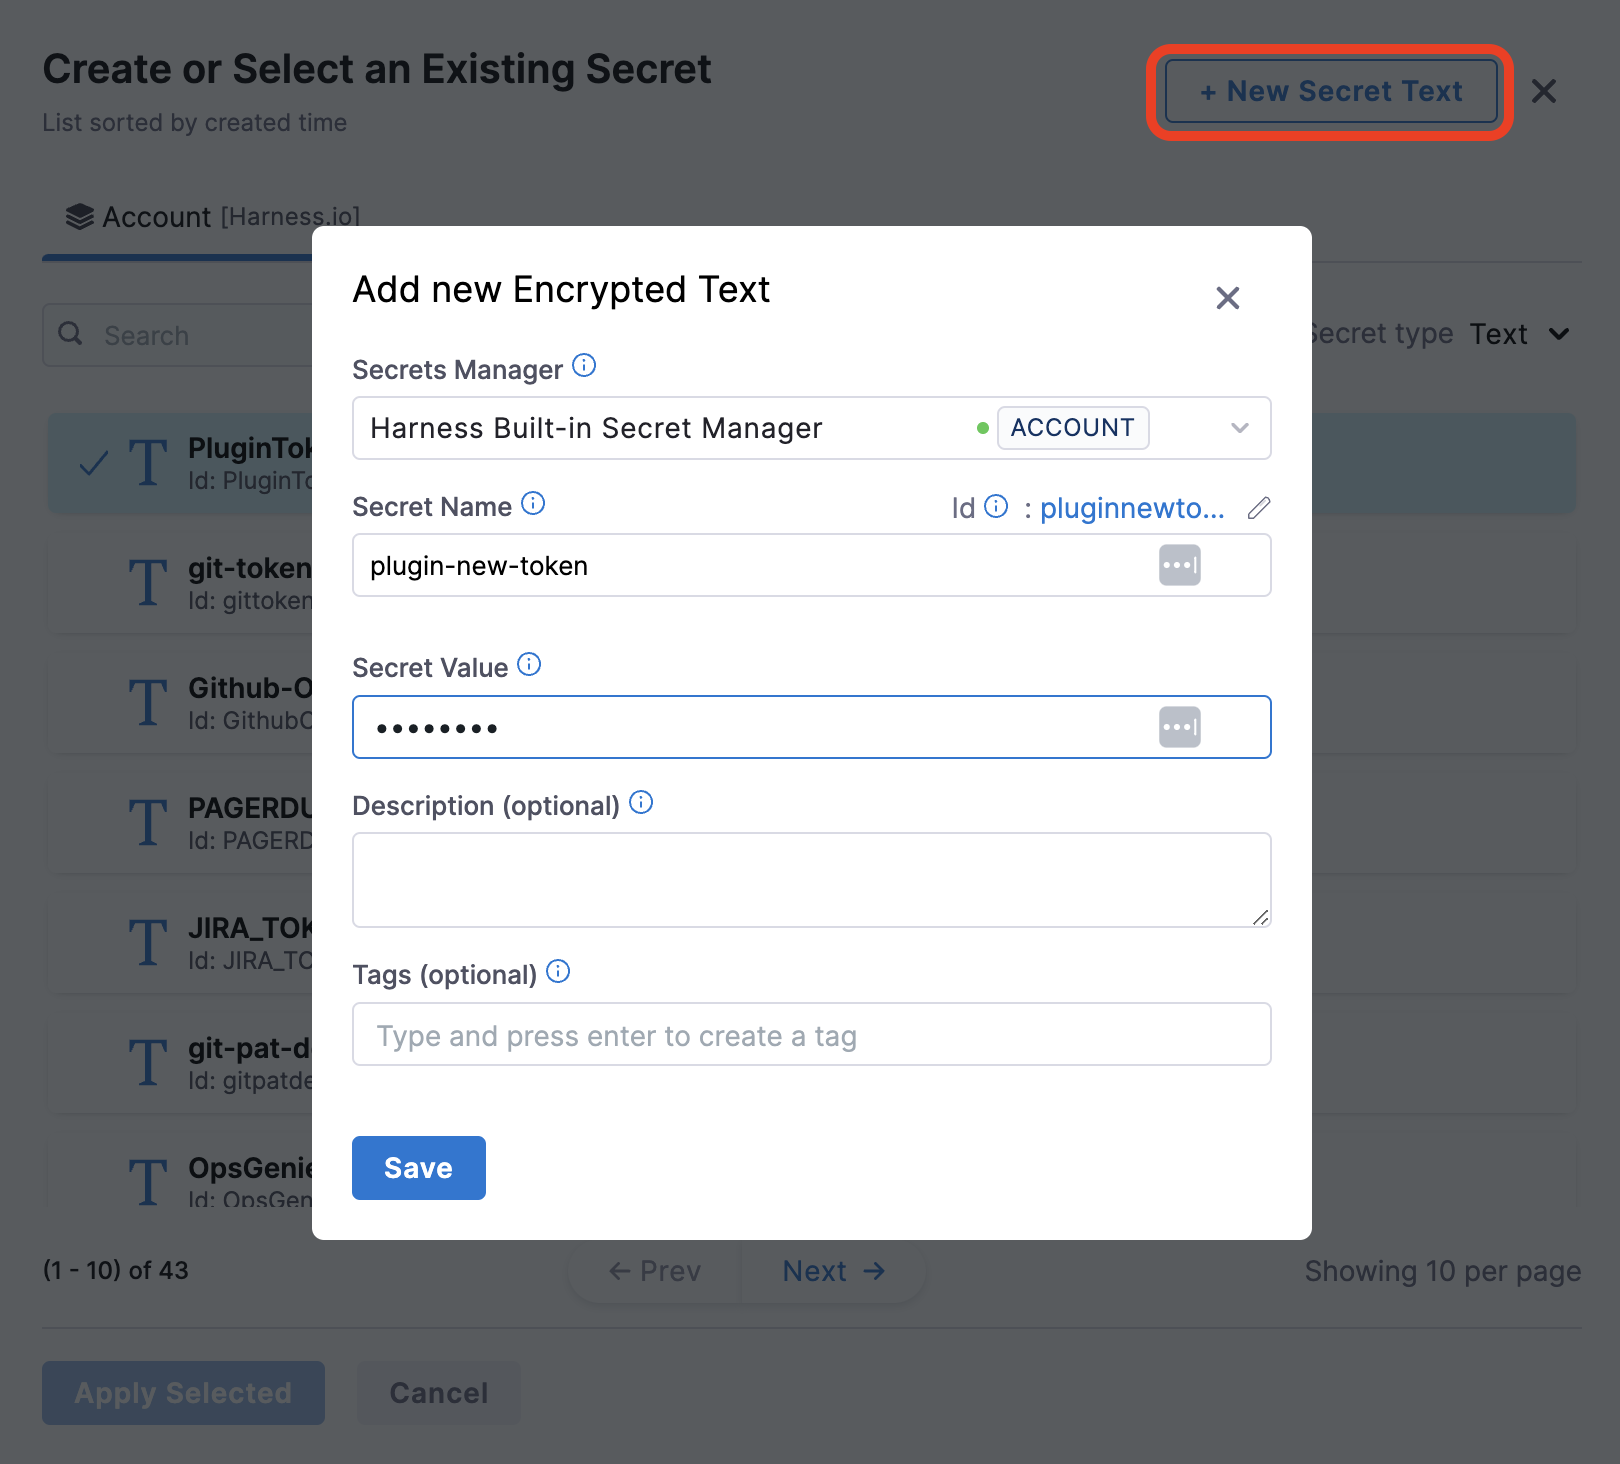
- Now in the above proxy authorization is added as a variable
SECRET_TOKENand the secret is stored in Harness Secret manager.

- You can as well access any private URLs/PORT if required by your plugin and that is behind any firewalls using Harness Delegate.

- Now Enable the Plugin.
Once you enable the PLugin it will approximately take around 30 minutes for the plugin to be enabled as we rebuild the IDP image with your plugin.
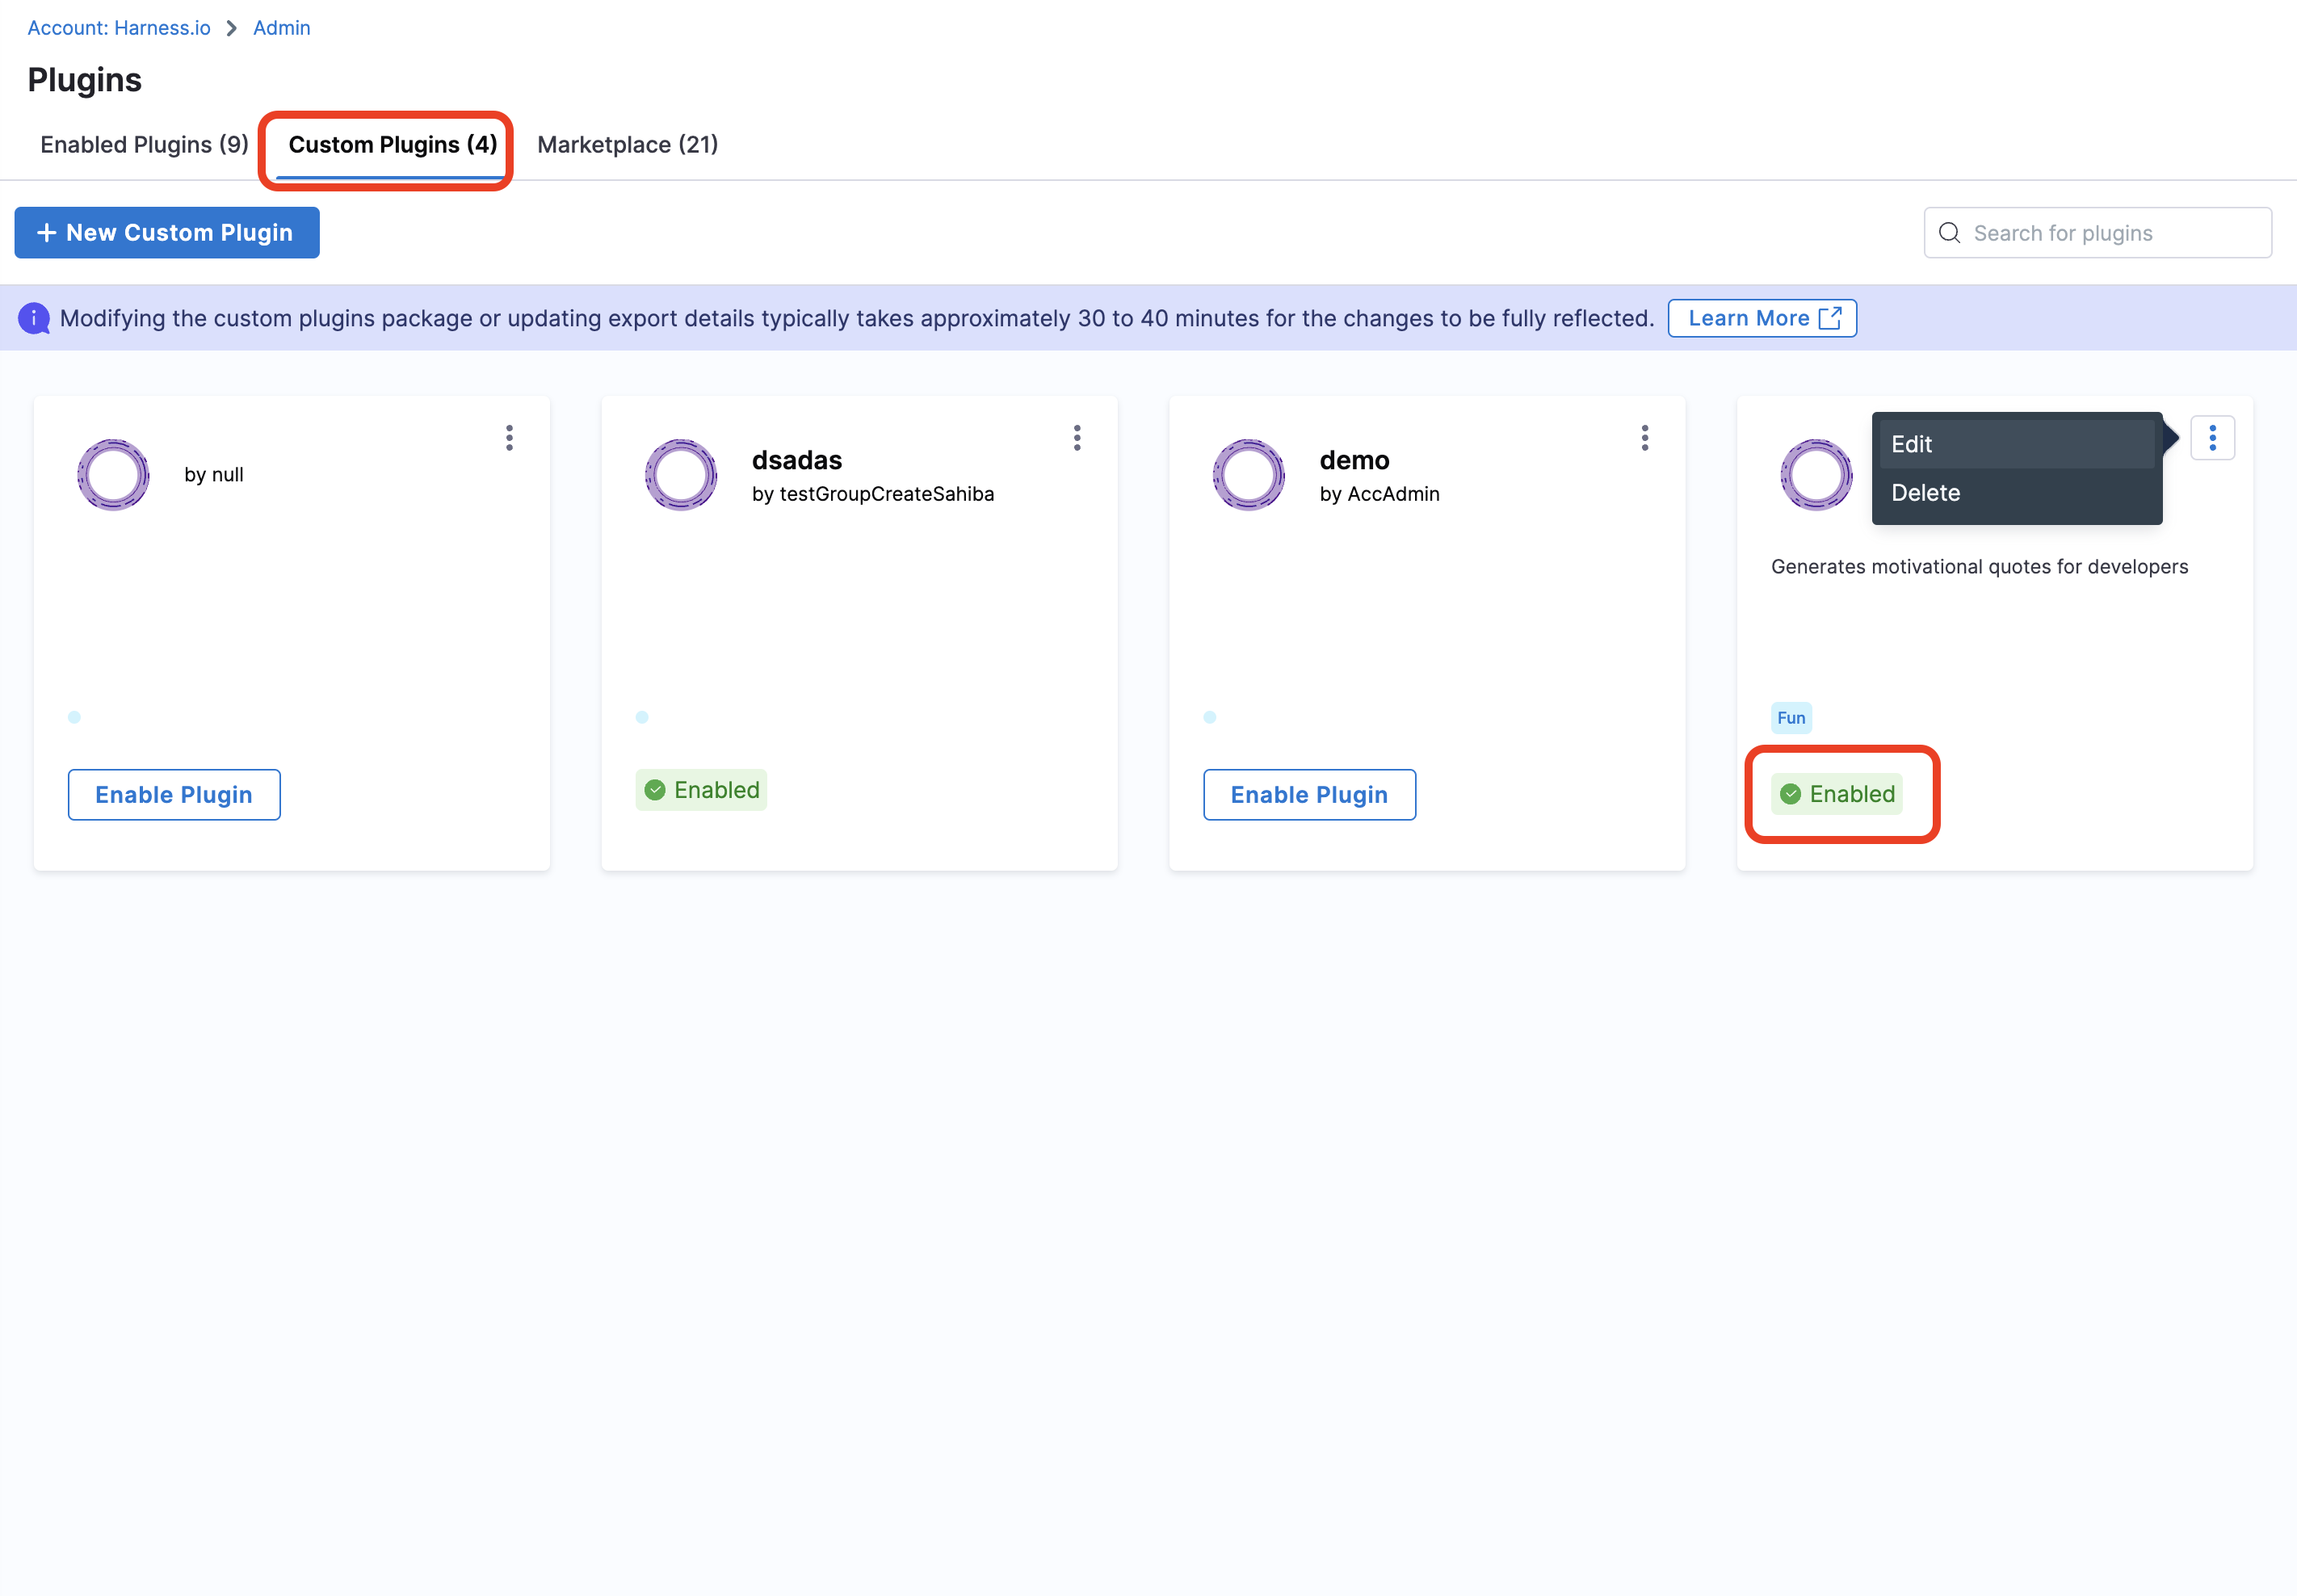
Edit/Delete Plugin
Once your Plugin is enabled you can find the plugin under Enabled Plugin tab as well as under Custom Plugin tab with Enabled tag, but you can edit or delete plugin only under custom plugins tab. Now click on the 3 dots at top of the Plugin card to edit or delete plugin.